by Heather Mastrangeli | Feb 13, 2017 | Crochet, Patterns
Happy Valentines Week! Love, flowers and hearts abound as people express their love to each other on February 14th. Truth be told, Valentines Day isn’t a big deal in my home today. However, as a kid, I used to relish everything about Valentines Day. When we woke in the morning, there was always some yummy heart shaped candy waiting for us with a card, reminding us how much our parents loved us. Exchanging valentines day cards with classmates was tons of fun after spending several nights customizing the perfect mailbox to sit on my desk, clearly decorated in hearts too. Hearts, a universal symbol of love and Valentines Day.
I wanted to whip up something special for Valentines Day this year. These simple and quick crochet hearts can be made into magnets or bookmarks! Both these gifts can be crocheted up in a jiffy and used year round! This pattern is super easy and can not only remind you of your place in a book or magazine or hold papers on the fridge, but also act as a reminder of those you love.

This project is a great stash buster!
Materials

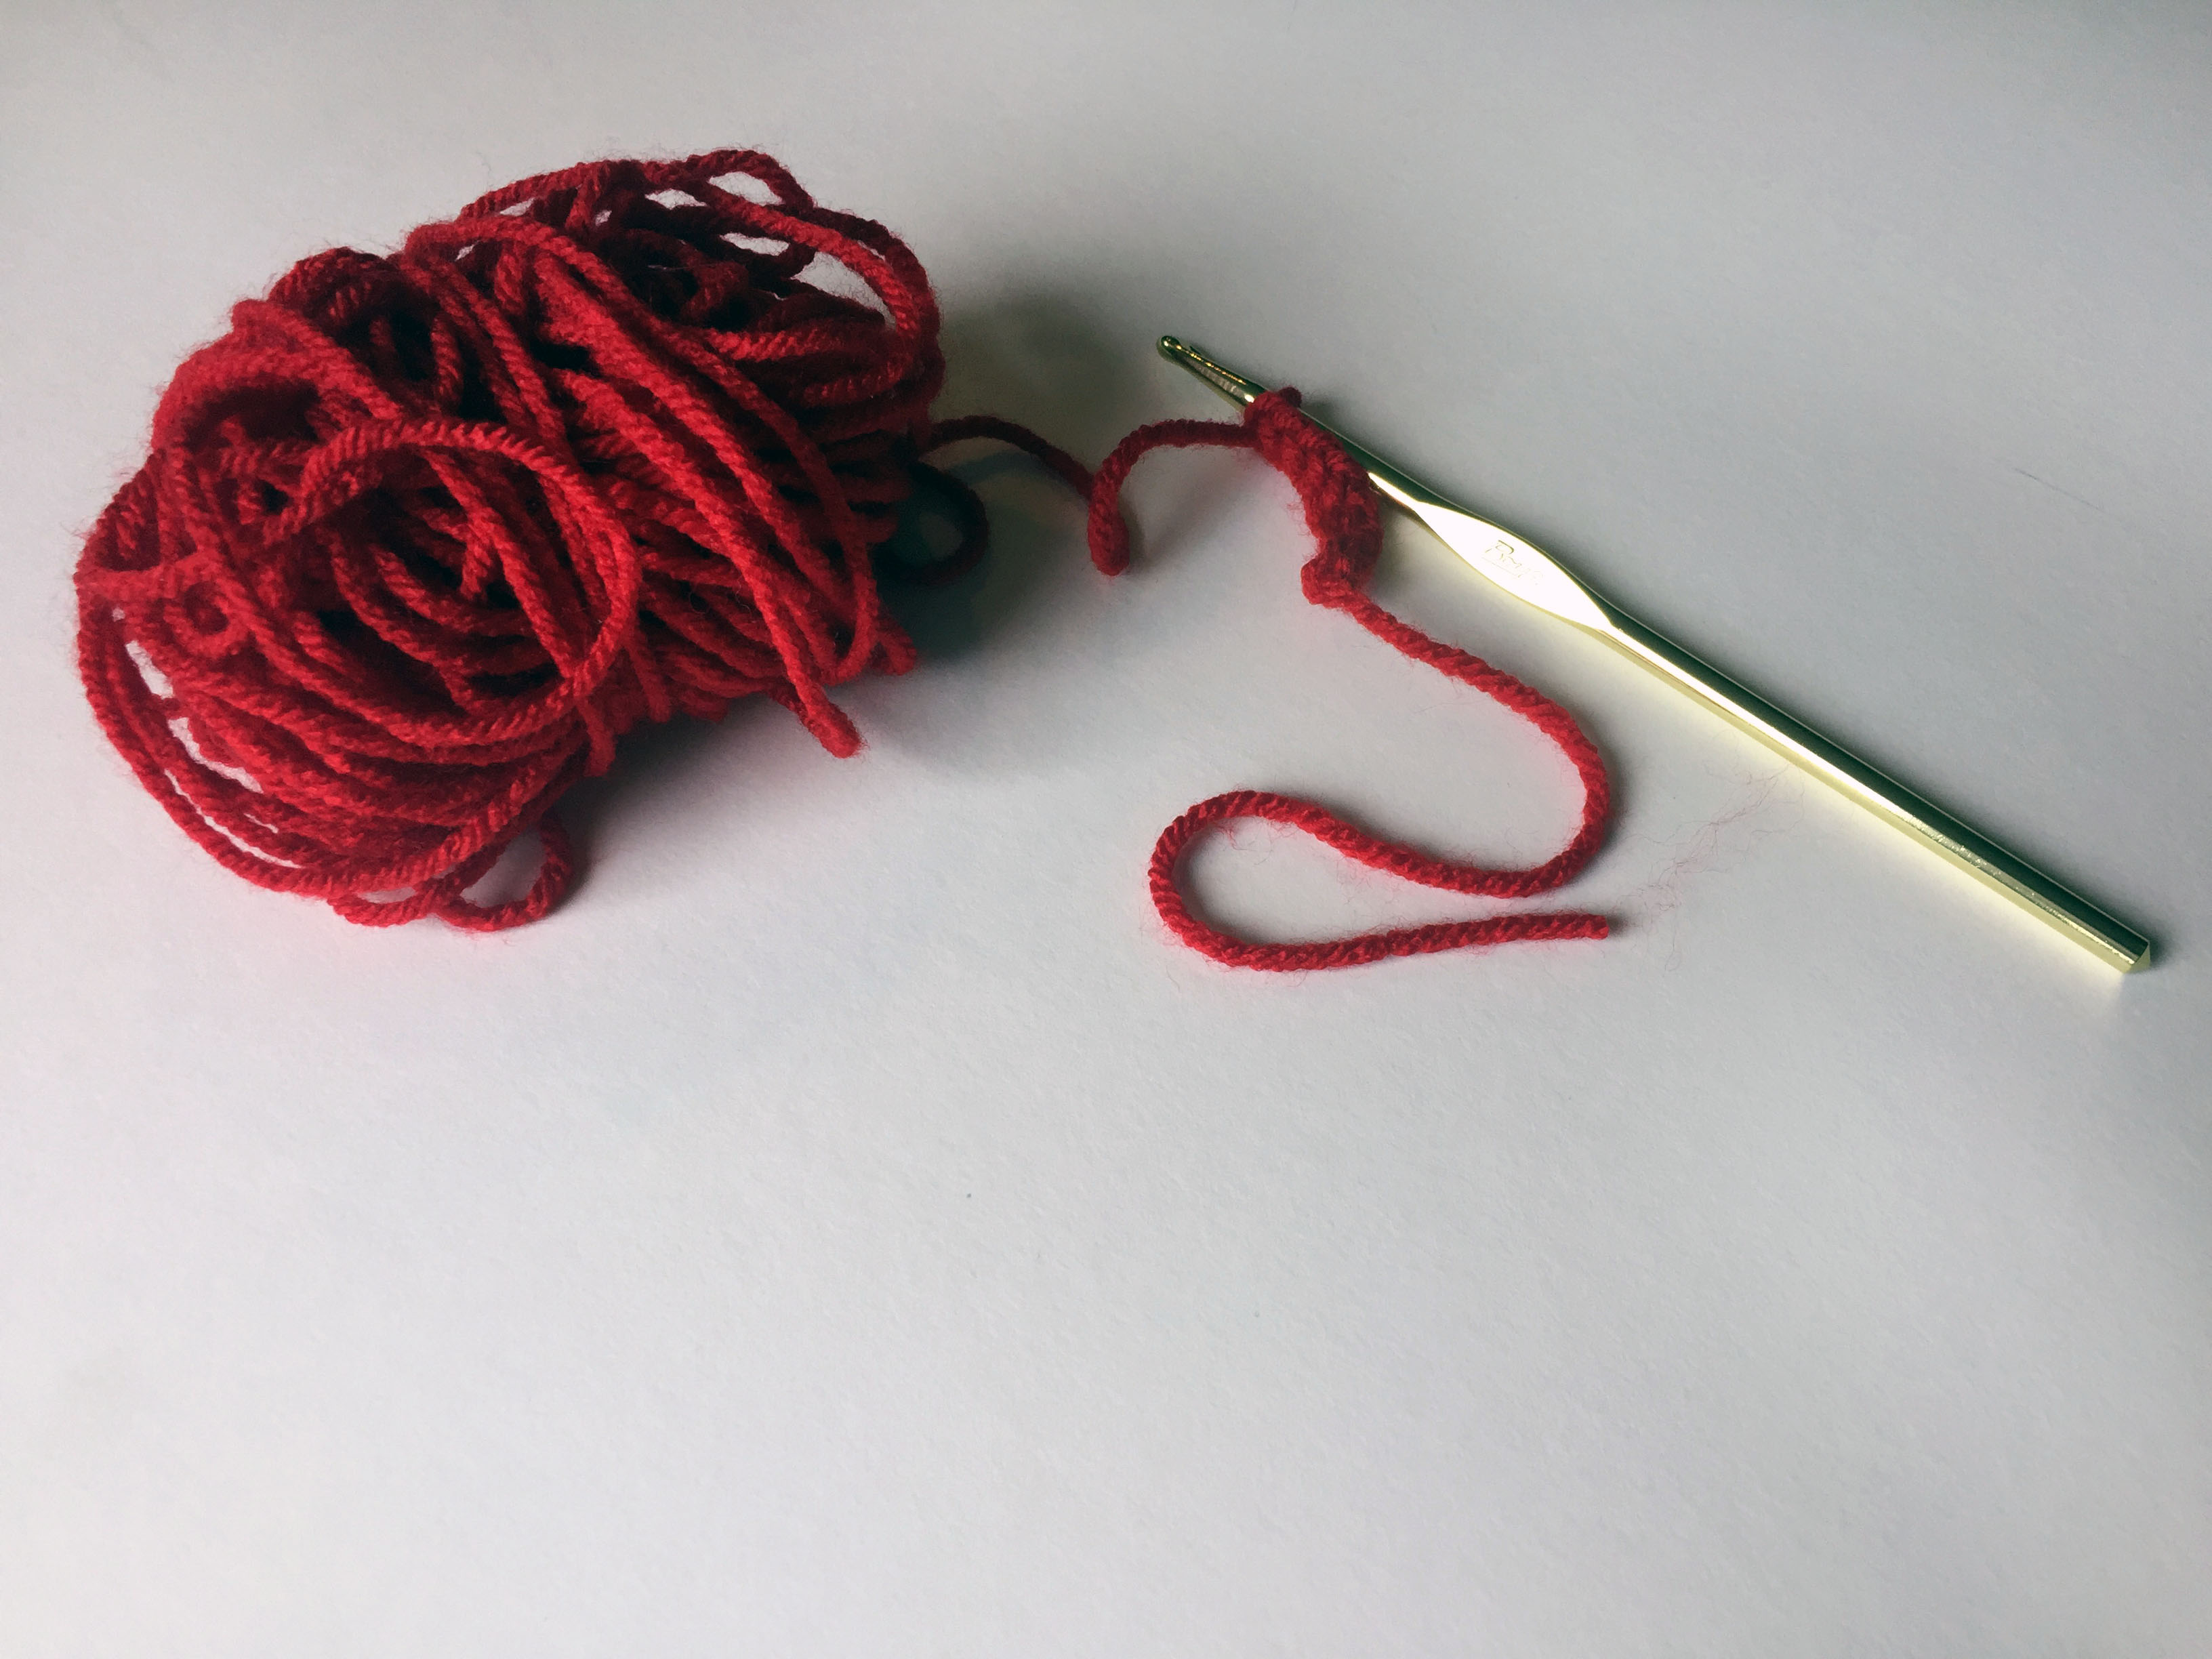
Crochet heart in progress!
Pattern
To begin, chain 7
Row 1: Starting with the second chain from hook, 5 sc across, 2 sc in last chain, chain 1, turn
Row 2: 2 sc in first stitch, 6 sc, chain 1, turn
Row 3: sc 6, sc2tog, chain 1, turn
Row 4: Sl st 3, sc 4, chain 1, turn
Row 5: sc 4, chain 1, turn
Row 6: sc2tog, sc 2, chain 1, turn
Row 7: sc 3, chain 1, turn
Row 8: sc2tog, sl st, chain 1, turn
Row 9: sc2tog, fasten off, weave in ends.
The images below show the various steps in order!
Construct a Bookmark
Now is the most complicated part of the whole pattern (not really, I’m just joking 🙂 ). Cut three strands of yarn to approximately 18”-24” in length. Using your crochet hook, pull all three strands of yarn through the end of the heart. Pull the strands so they are equal. Holding two strands of yarn together at the same time, braid the yarn. Tie a knot at one end (We’re such rebels tying knots in our crochet projects!), leaving about half an inch of fringe. Your bookmark is ready!
Create a Magnet
To create a magnet, simply glue the crochet hearts to a simple magnet!
Abbreviations:
sc- Single Crochet
sc2tog- Single Crochet Two Together
sl st- Slip Stitch
by Heather Mastrangeli | Apr 28, 2016 | Crochet, Patterns

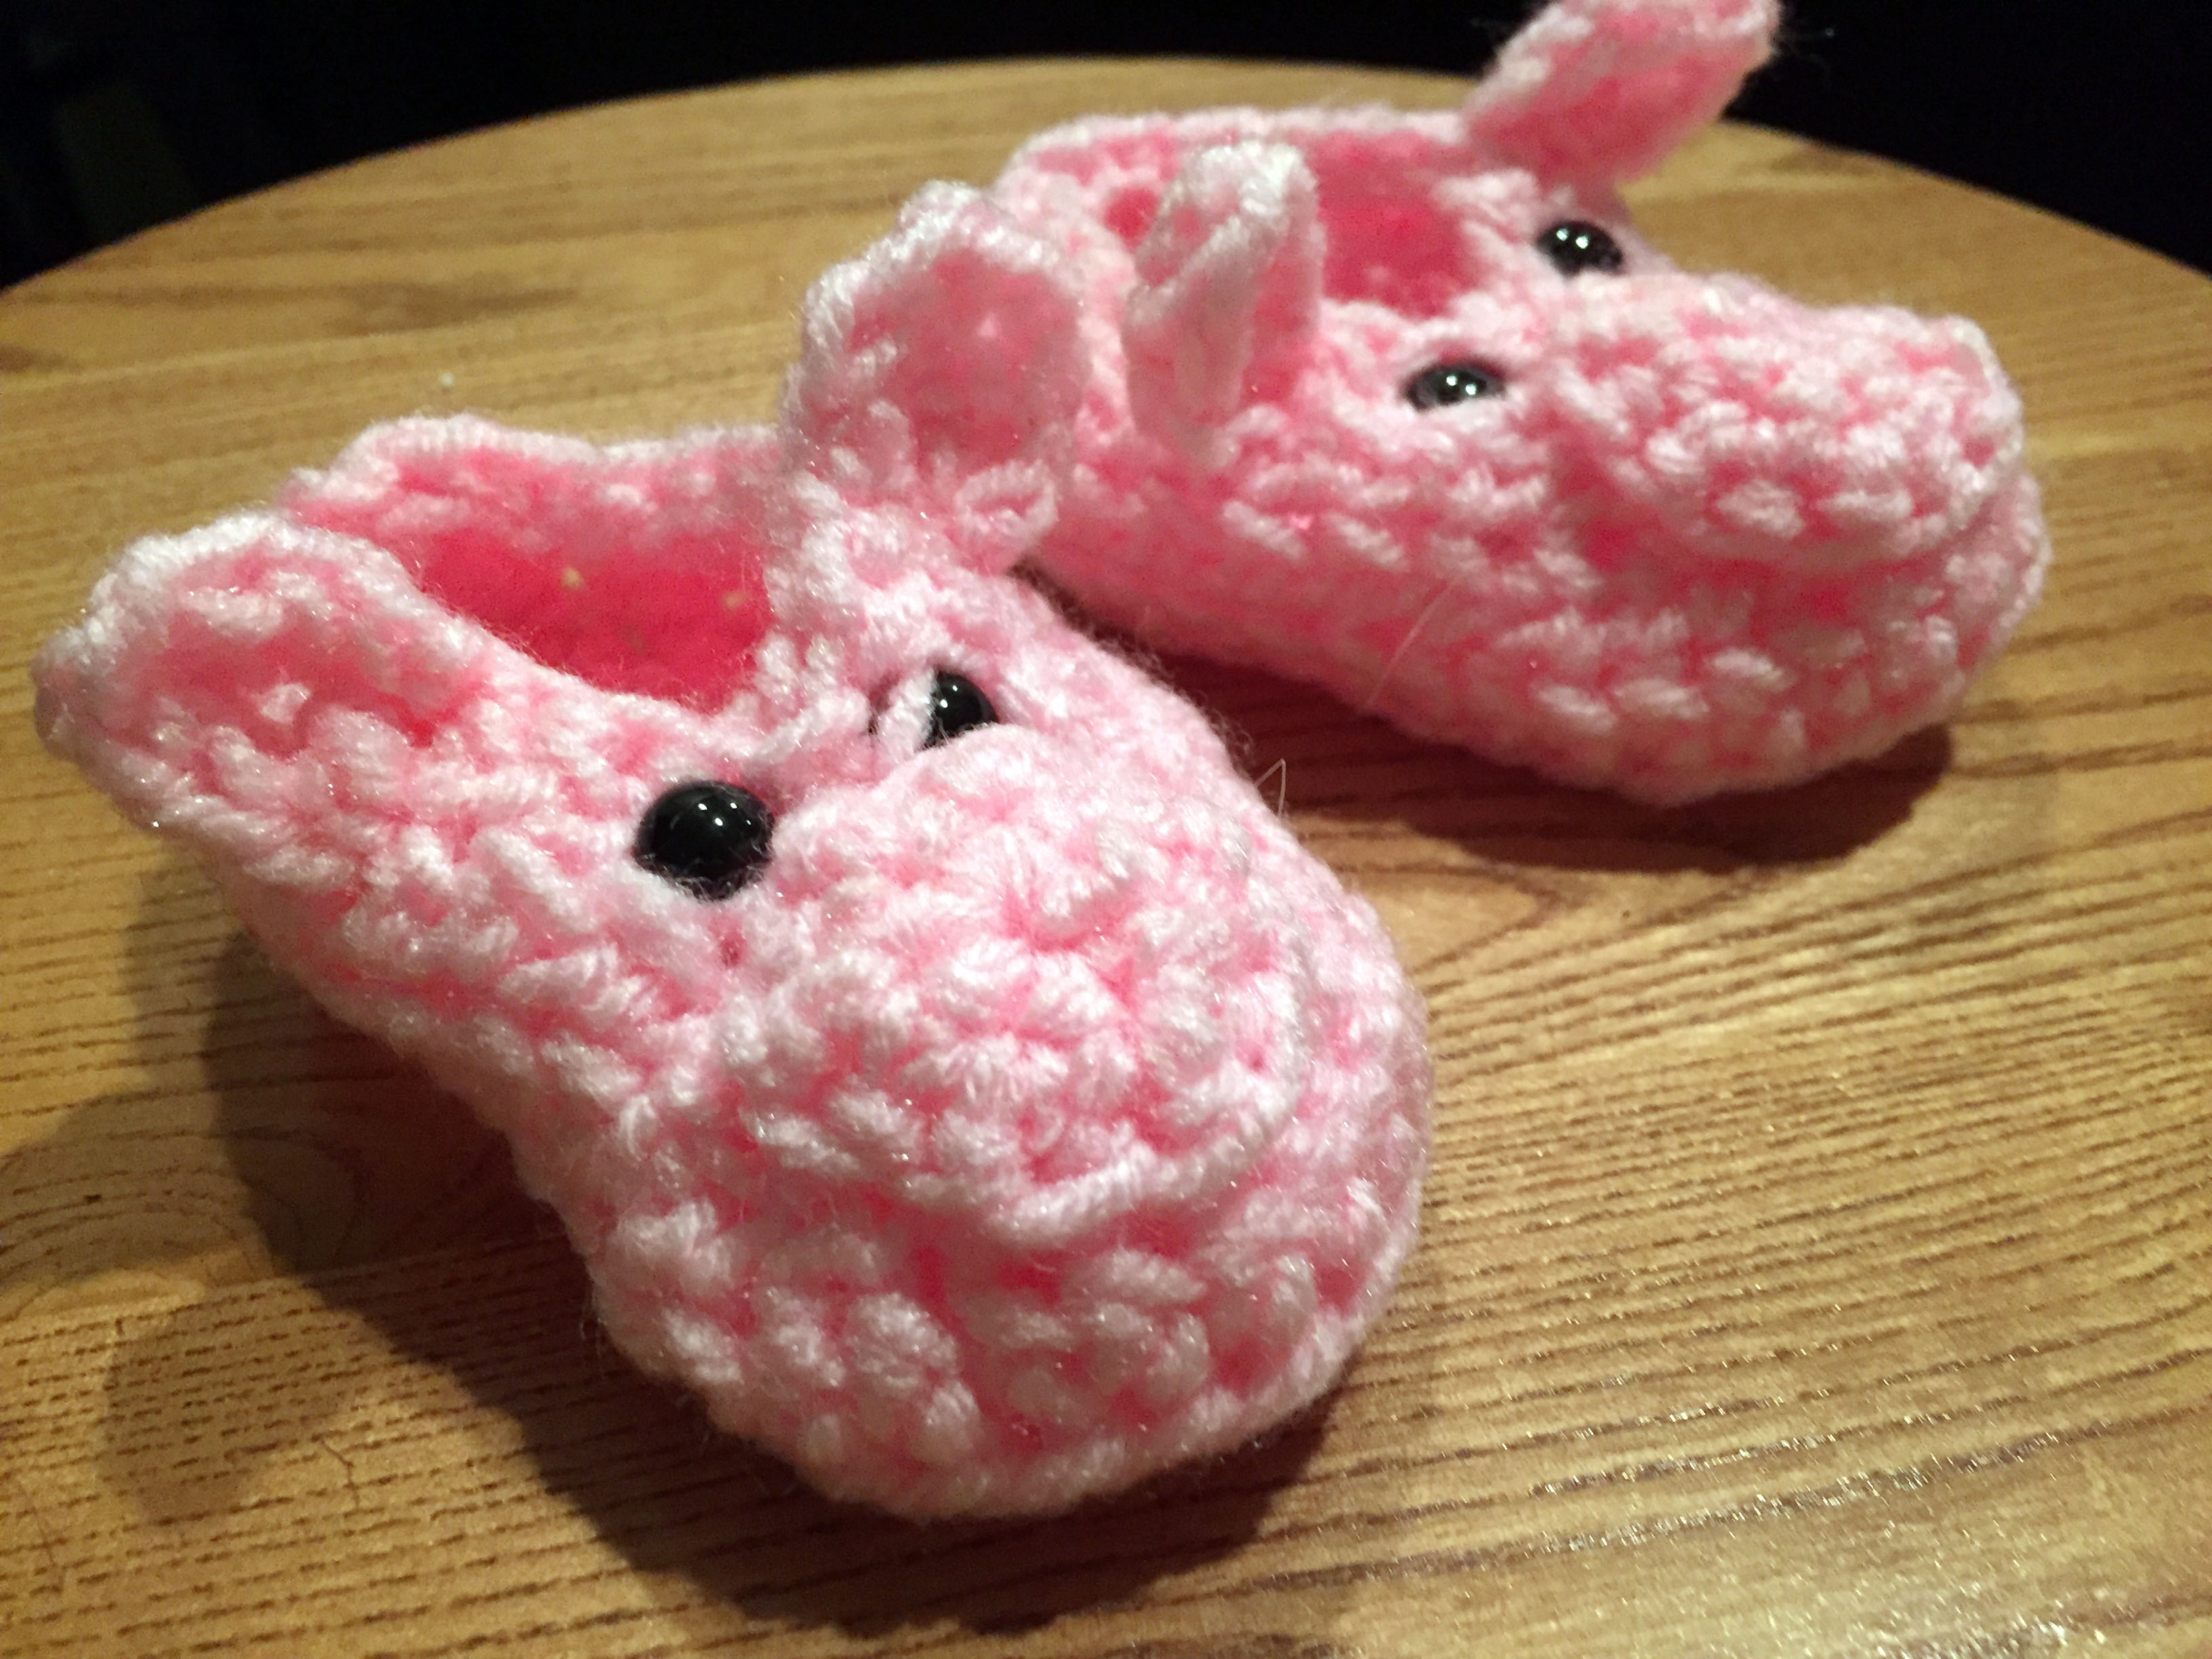
Looking for the perfect baby gift for a friend, I looked to Pinterest for inspiration. Having pinned loads of knitting and crochet goodies in the past, I went through my past pins for inspiration. There it was, the cutest little pink piglet baby booties! Enthusiastically gathering my supplies and starting to crocheting away, I realized that the pattern on my board was rubbish. Back to the drawing board.
With a little searching, I found a sweet little baby boot pattern on Red Heart’s web site. The boots weren’t exactly what I was looking for, but with a little modification, it could be just the right fit! I also swapped the yarn I was planning to use for Red Heart Super Saver that was in my stash. Red Heart yarn is great for baby and children’s projects because it’s so easy to care for. In the washing machine it goes!
Realizing that I’d need to make serious modifications, I thought about slippers I’ve made over the years and other baby booties that I’ve created and got to work.
Thankfully, the Warm Baby Boots pattern was the perfect base for my Piglet Booties. Following the instructions through round 6 gave me the perfect base to add ears, snout and eyes.
If you’re interested in the original pattern, you can check it out here. It’s really great and offers more coverage than the Piglet Booties below.
To make the Piglet Booties, grab your supplies and get crocheting!
Materials

Worsted Weight Yarn (Red Heart Super Saver shown)
6-9mm Safety eyes or buttons
Size H Crochet Hook
Pattern
Red Heart Warm Baby Boots Pattern, make through Round 6:
Bootie (make 2)
Ch 9
Round 1: Work 2 dc in 3rd ch from hook, dc in next 5 ch, 6 dc in last ch, turn to work along opposite side of beginning ch, dc in next 5 ch, 3 dc in last ch, slip st in top of beginning ch to join. – 22sts
Round 2: Ch 2, hdc in same st as slip st, 2 hdc in each of next 2 dc, hdc in next 5 dc, 2 hdc in each of next 6 dc, hdc in next 5 dc, 2 hdc in each of next 3 dc, slip st in top of beginning ch to join. – 34sts.
Round 3: Ch 2, hdc through back loop in each st around, slip st to top of beginning ch to join. – 34sts
Round 4: Ch 2, hdc in next 8 sts, [dc2tog] 8 times, hdc in next 9 sts, slip st to top of beginning ch to join. – 26sts
Round 5: Ch 2, hdc in next 8 sts, [dc2tog] 4 times, hdc in next 9 sts, slip st to top of beginning ch to join. – 22sts
Round 6: Ch 2, hdc in next 8 sts, [dc2tog] 2 times, hdc in next 9 sts, slip st to top of beginning ch to join. – 20sts
Begin boot modifications:
Round 7: slip stitch along the top of the bootie
Snout: (make 2)
Set-up: Using the magic loop method, single crochet 6 stitches into the loop and pull tight. Join with a slip stitch, chain 1.
Round 1: 2 dc in each stitch, slip stitch
Ears: (make 4)
Ch 2.
In second chain from hook: sc, hdc, dc, ch 2, dc, hdc, sc
Fasten off
Finishing:
Sew the snout onto the middle front of the bootie.
Place safety eyes or sew in buttons.
Sew ears in place.
by Heather Mastrangeli | Mar 22, 2016 | Crochet, Patterns

One thing I loved as a kid were holiday crafts. Easter brought paper bunnies and decorated Easter eggs. As a child, my sisters, brothers and I would spend hours investing in coloring Easter eggs, arguing over who got to use which color when, trying to figure out who was hoarding the clear wax crayon and I especially remember my sister Stacy mixing the dark dye into the lighter colored dyes and causing a muddy color for the rest of us to work with. (Ugh!) Grandma always gave each of us a Fanny Mae milk chocolate bunny and the Easter bunny came with gifts of his own for all 5 of us. Those were the days.
Seeing I haven’t done an Easter craft project in well over a decade, I decided this was the year! My most favorite medium these days is yarn, and I have an increasingly growing stash that desperately needs to be busted through. Seeing Easter is right around the corner, I wanted something quick, not gauge specific and a project that required little yarn to make the most of the bits an pieces that I haven’t been able to part with.
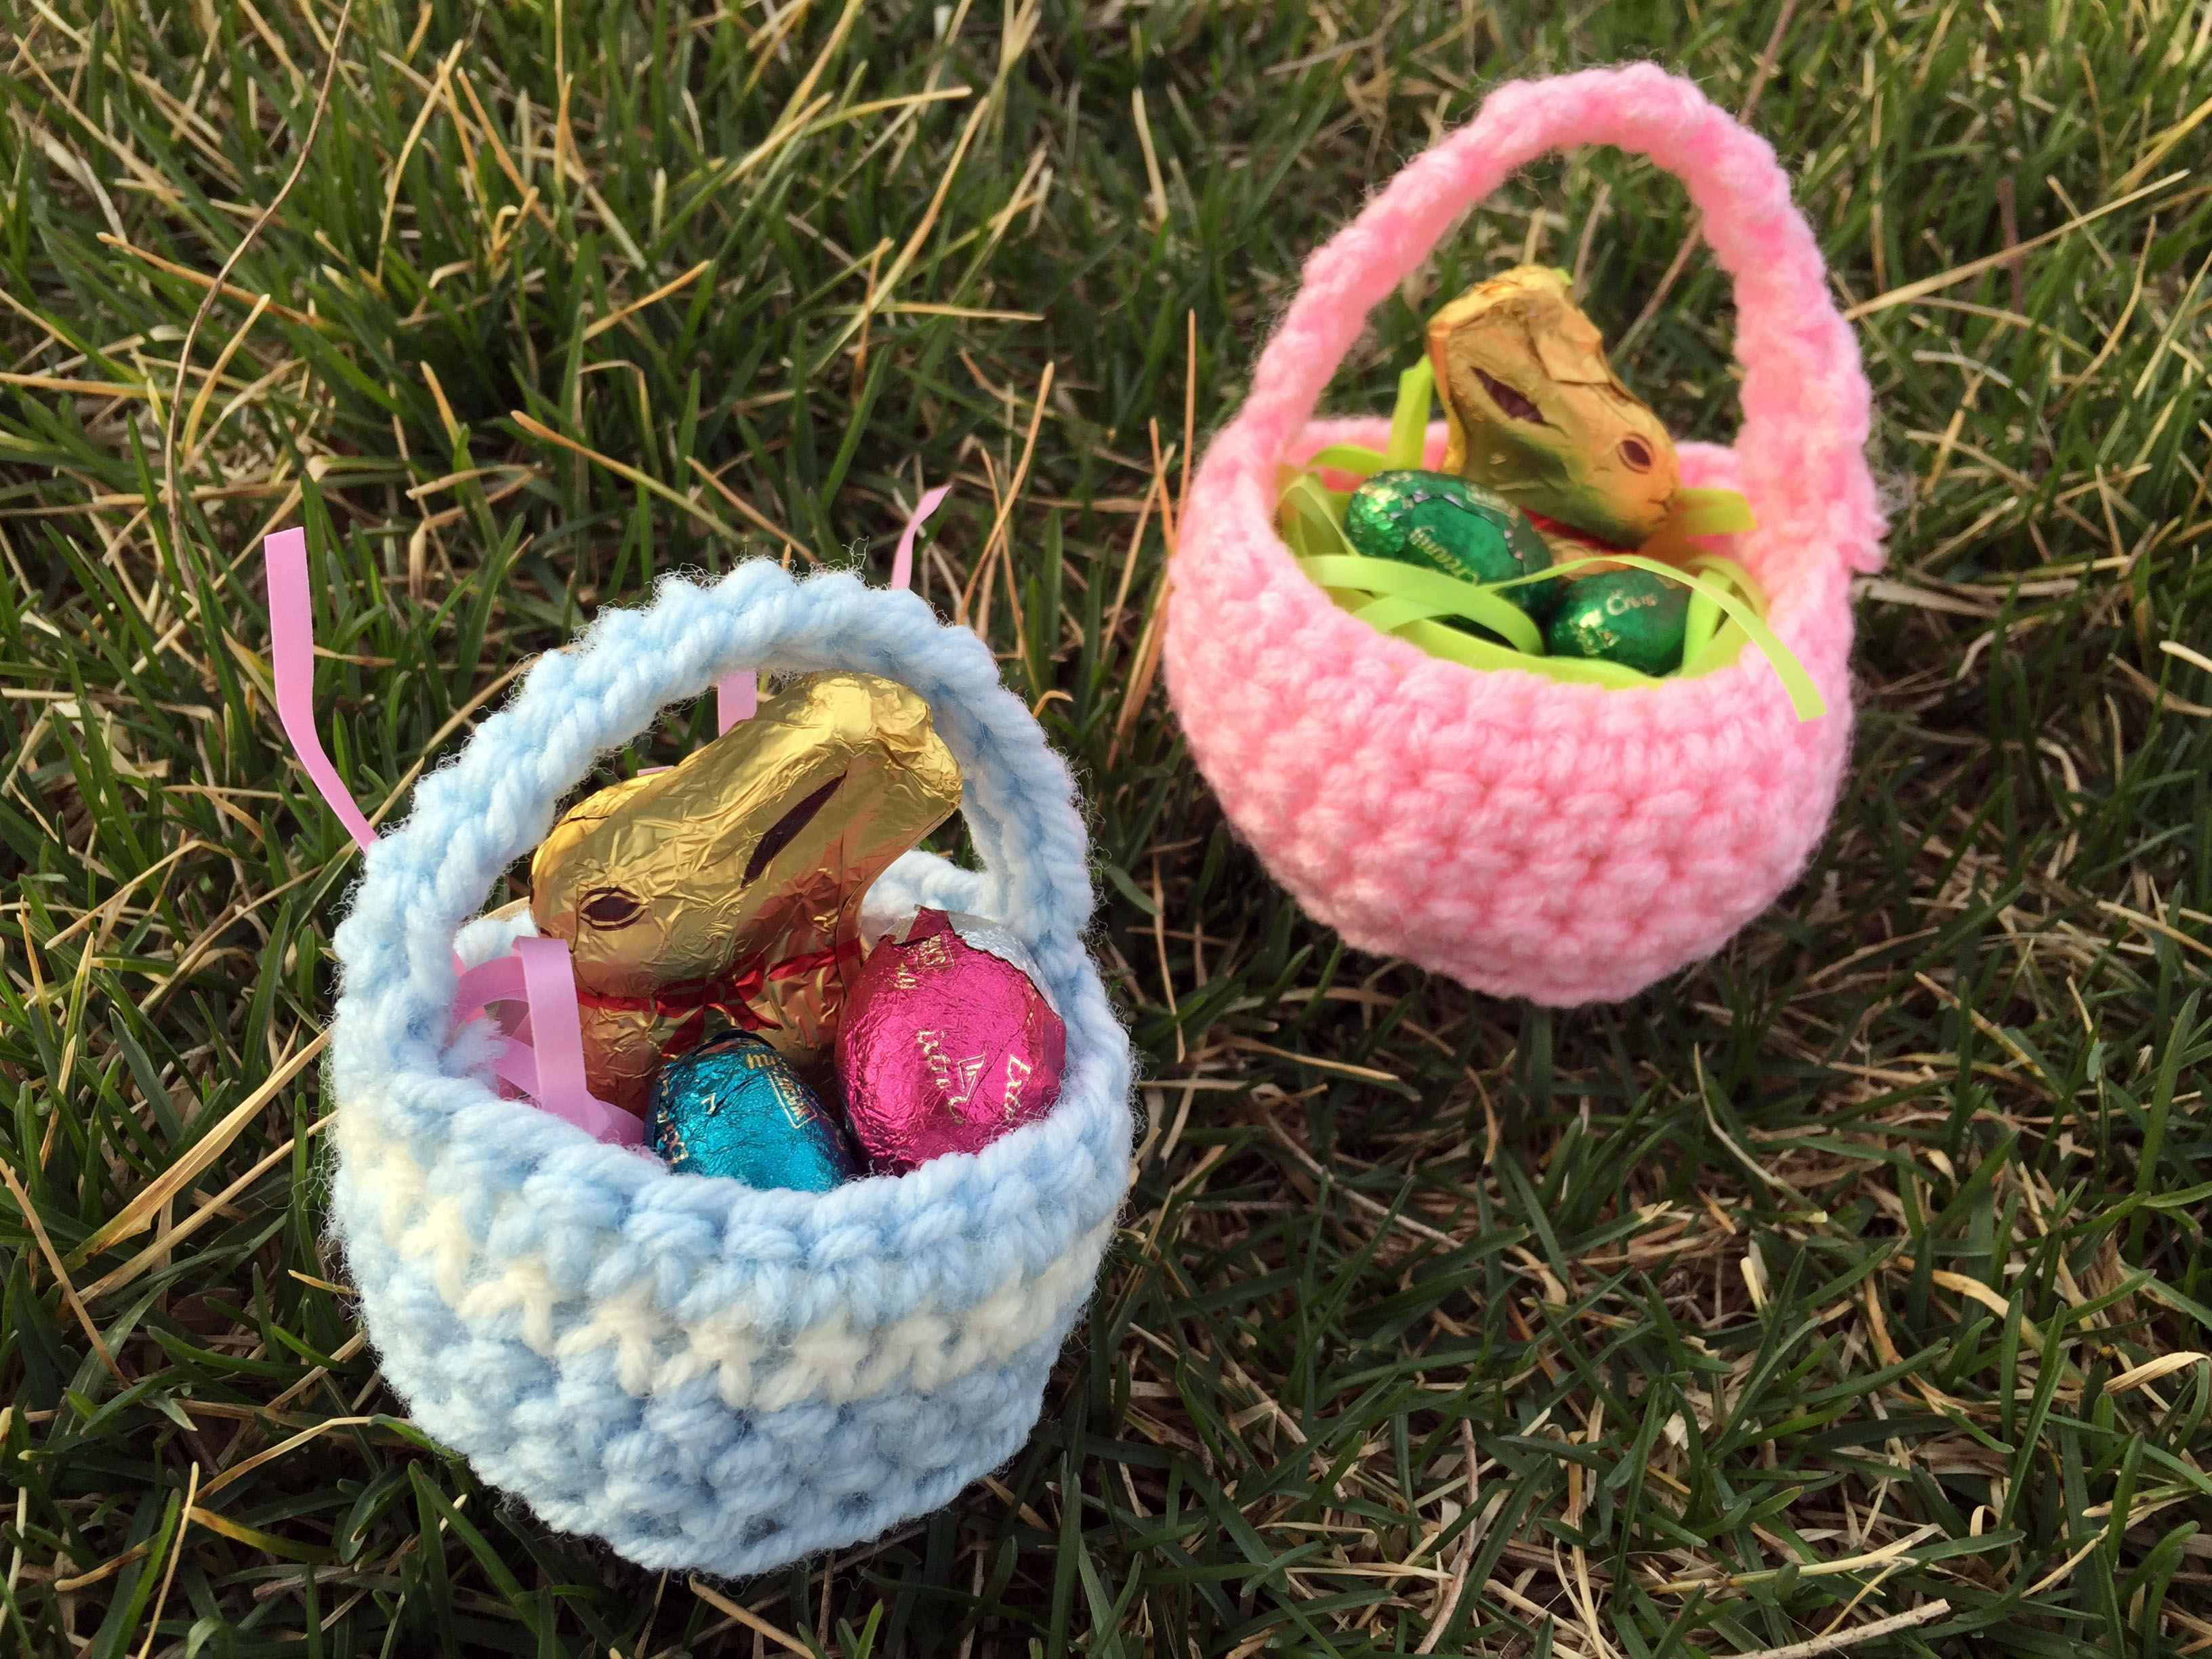
 These super easy mini Easter baskets work up in less than an hour and are big enough to hold a few candies or egg for someone in your life who needs a little Easter cheer.
Materials
- Size G crochet hook
- Worsted Weight yarn
- Yarn needle
Pattern
Bottom of basket:
Set-up: Using the magic loop method, single crochet 6 stitches into the loop and pull tight.
Join in the round with a slip stitch, chain 1
Row 1: 2 single crochet in each chain around, sl st to join, chain 1 (12 stitches)
Row 2: *(sc, sc, 2 sc in next stitch) *repeat to the end, join with slip stitch, ch 1 (18 stitches)
Row 3: 2 sc in first stitch, sc, sc, *(2 sc, sc, sc) *repeat around, join with slip stitch, chain 1 (bottom of basket should measure 2″ in diameter)
Sides of basket:
Row 4: Working in the back loops of the bottom of the basket, increase 1 in the first stitch by single crocheting twice in the first loop, single crochet in back post around, join with sl st, chain 1 (25 stitches around)
Rows 5- 7: Working in both loops, single crochet around, join with sl st, chain 1
Handle:
Row 8: sc 2, ch 1 turn
Row 9: sc 2, ch 1, turn
Row 10: sc 2, ch 1, turn
Row 11: single crochet 2 together, chain 1, turn
Rows 12- 18: sc 1, ch 1, turn
Row 19: 2 single crochet in stitch, chain 1, turn
Row 20: sc 2, ch 1 turn
Row 21: sc 2, ch 1 turn
Row 22: sc 2, ch 1 turn
Join the end of handle half way around basket and slip stitch in place. Tie off an weave in ends.
Abbreviations
sc – Single Crochet
sl st – Slip Stitch
ch- chain