by Heather Mastrangeli | Apr 21, 2016 | Adventures in Knitting

Sometimes inspiration strikes and you’re ready to roll. Time to grab a crochet hook or knitting needles and create! Create something amazing, magically transforming a bit of string into a substantial fabric that is meaningful. Sometimes in our excitement to being a new project, we skip some of the essential steps. Well, at least I’m guilty of that. Have you every taken more than a few years to create a blanket? Ok, maybe you have, but here’s the story behind my Archive Blanket.
Once upon a time, I was in the yarn aisle at the craft store. There were lots of beautiful skeins to choose from and I wanted to make my first afghan/blanket/throw. Trying to be smart about the process, and not wanting to be discouraged with a slow moving project (if I only knew then what I know now…), I added six skeins of a beautiful, super bulky yarn to my cart. The Lion Brand Thick & Quick had a beautiful cream color that would look great as a throw on my spa green bedspread and I was eager to get started.
Without having a pattern, and always living on the adventurous side when it comes to artsy things,

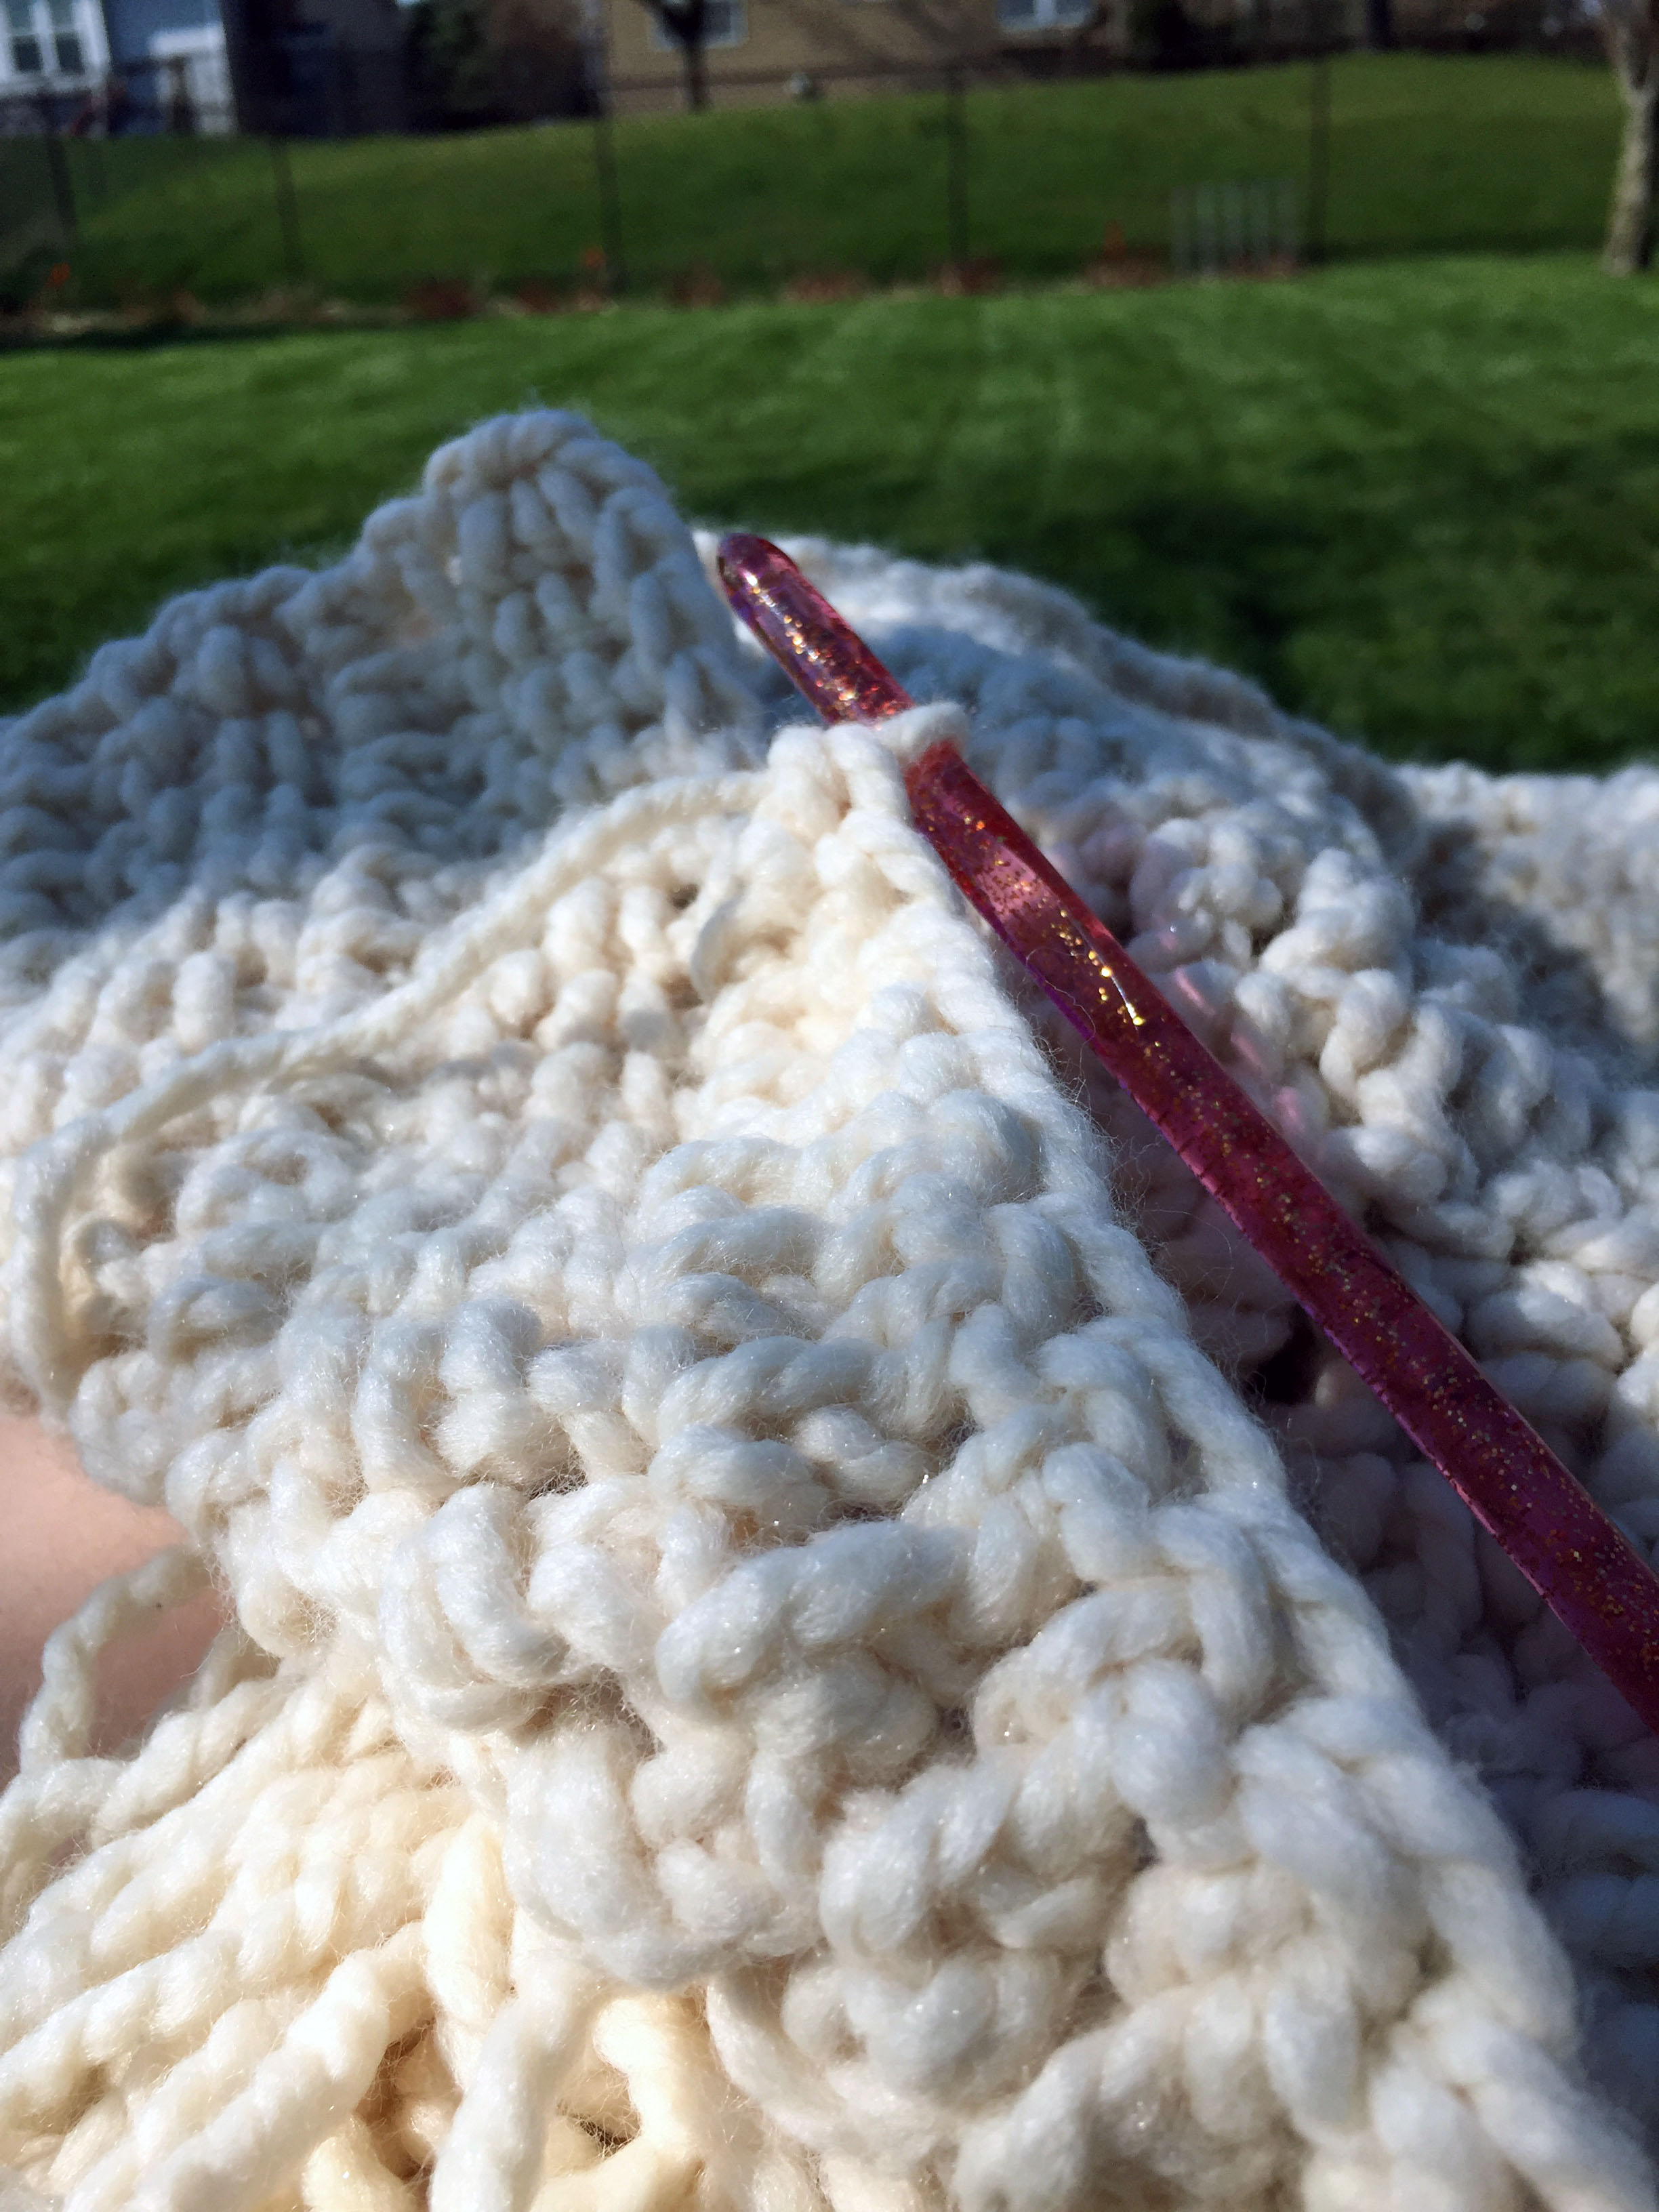
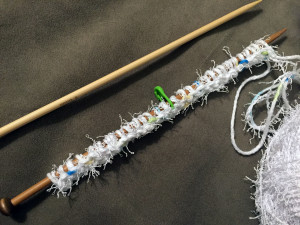
Such a fun pink sparkly crochet hook! Loved working on the project outside!
I grabbed my crochet hook and started my foundation chain. I couldn’t be bothered with a gauge swatch. I just needed to start. So I simply measured my chain (dumb idea) and kept on chaining. 130 chains to be exact! (It seemed perfectly normal at the time.) Feeling like a double crochet stitch would be my best bet- after all I was going for a fairly quick afghan that had a high satisfaction level and that would look beautiful on my bed- I started my stitch pattern. (Strict double crochet all the way!)
It took little time to get through the first skein of my Lion Brand Thick & Quick. When I looked down at the project on my lap, it resembled a super long snake and not at all the start of a blanket, or even one sixth of a blanket. I was still blinded by excitement. Somehow three and a half rows with one skein of yarn wasn’t a warning sign! I joined another ball of yarn and keep on going…. And another…. And another… After several days I worked through all six skeins of yarn that were just brought home. The blanket was only inches long, so I decided to go back and see if I could get more of the same dye lot. I could, and the remaining skeins in stock made their way home with me.
Eventually the excitement of other projects prevailed, and the blanket was in hibernation. Over the course of a couple years, I pulled it out, worked up another skein worth of yarn, ran out of yarn, repeat. There were multiple trips to the store for more yarn, and I quickly realized that I was never going to get the yarn I needed all in the same lot.
The unfinished blanket sat in a basket with the pink sparkly crochet hook for ages. It even moved to our new home a couple years ago where it was a fixture in the family room, waiting to be completed. The blanket continued to make its way in and out of hibernation. That is until this past week. (The hottest week of the year so far, of course.) I bought two more skeins of a different dye lot and decided this was it. This was happening. This blanket was going to be enjoyed once and for all! I joined a new ball and spent a couple nights cranking out four more rows of the blanket.
I was mostly good about weaving in ends as I went, (one thing I did right on this project) but there

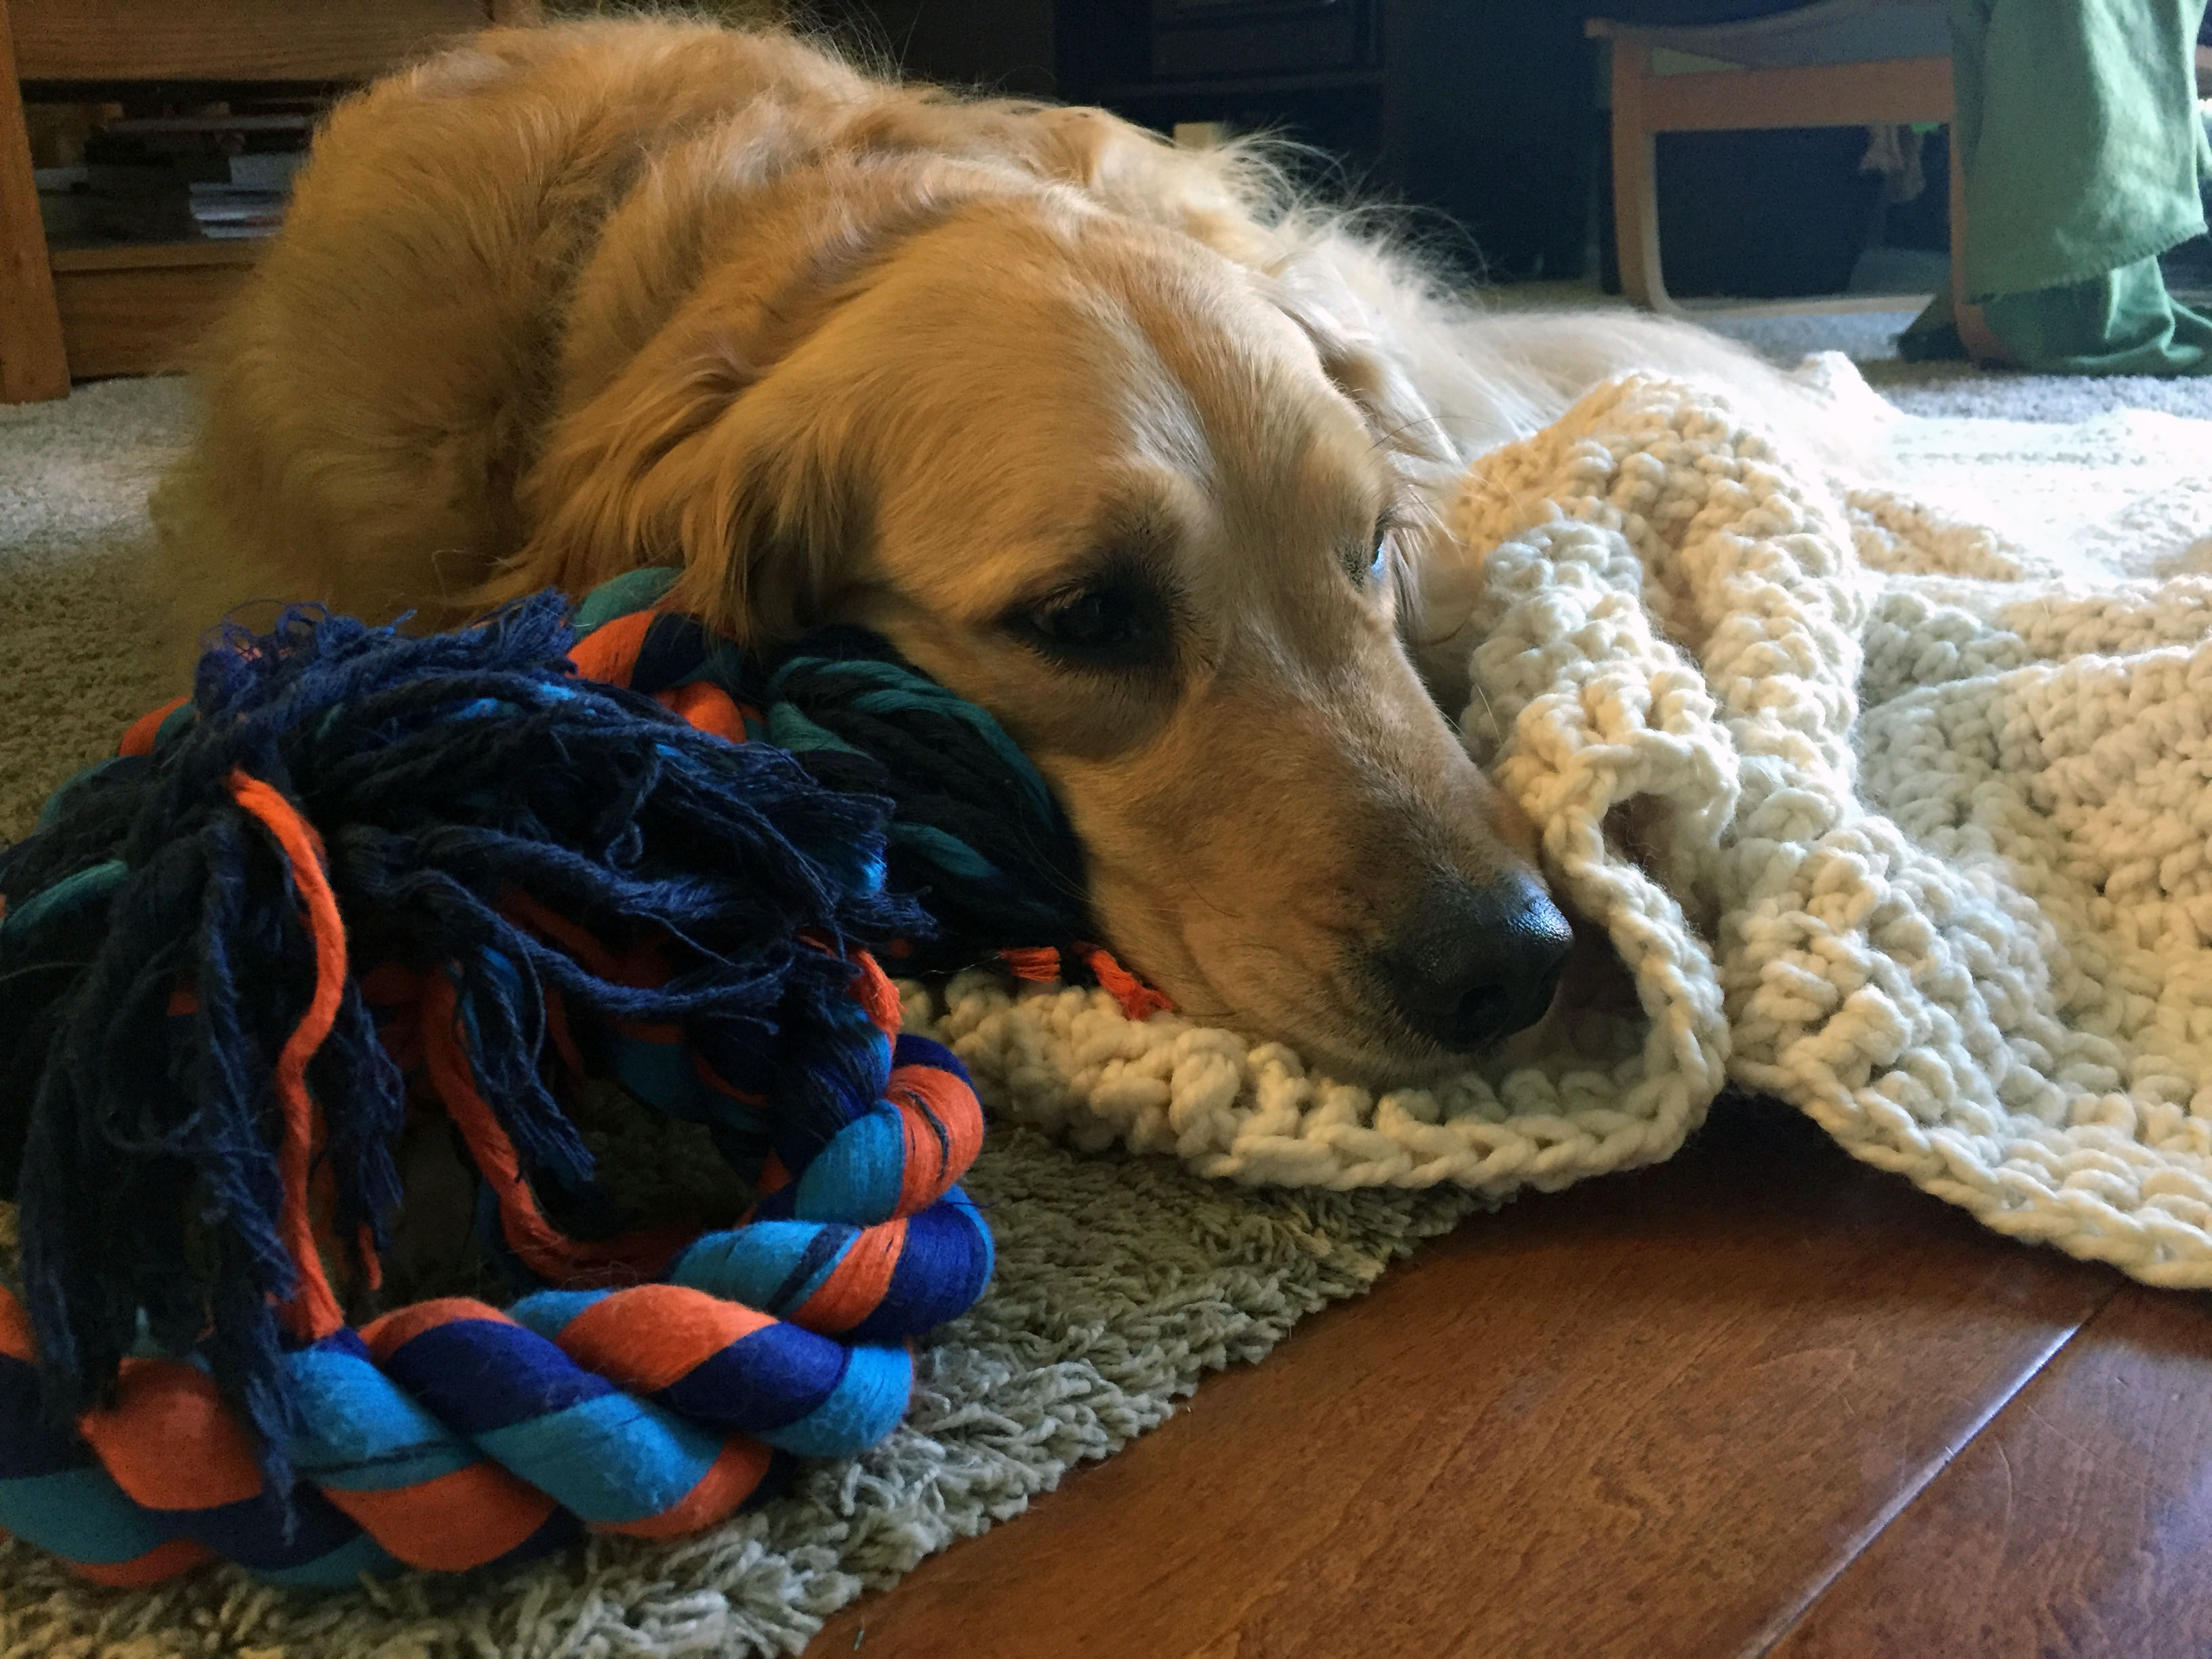
This blanket is huge! A few ends just need to be woven in! Ronin quickly made himself at home on the blanket.
were a few that needed attention. I spread the monstrously large blanket on the floor and went to grab the appropriate tools for the job. When I came back, my dog, Ronin was already enjoying my handiwork! He happily moved from his spot in font of the sofa to the blanket on the floor and made himself comfortable. All we could do was laugh at him. Not having the heart to make him move, I proceeded to weave the ends in while he lounged about.
This blanket is huge, and it’s heavy. Thick & Quick not only works up fast, but it’s also super chunky. I don’t even want to calculate how many skeins of yarn make up this blanket. What is pretty awesome are the top 10 lessons that I learned over the years:

Even though there was much to learn, this blanket came out great!
- Do the gauge swatch. Seriously.
- Yarn weights lots.
- Only make a really big blanket on purpose.
- Double crochet stitches still work up fastest.
- Thick & Quick yarn is awesome and still one of my favs for a fast project that won’t break the bank.
- Weave in the ends as you go, you’ll be grateful about it later.
- My dog loves handmade goods.
- Hibernating projects are ok and can be good for you.
- Hibernating for too long is just silly.
- It’s important to cherish the things you spent time on and learned from.
by Heather Mastrangeli | Apr 12, 2016 | Book Review

I don’t know about you, but I’m often knitting in front of the TV and looking for patterns that give a great sense of accomplishment and require little concentration. Relaxing knitting as opposed to challenging knitting if you will. When I saw this tile from Vogue, I was elated. Easy sweaters? That translates to perfect TV knitting with great style! Did Vogue Knitting Very Easy Sweaters measure up and meet expectations? Let’s find out!
As the cover states, there are 50 patterns that claim to be timeless and stylish. After reading the book, I totally agree. The book is divided into several categories:
- Stockinette
- Light & Easy
- Dramatic Shapes
- Cables
- Stripes & Colorwork
- Helpful Information
Stockinette
There are nine patterns in the stockinette section and 8 of them are sweaters. Each is a classic design that would be a timeless edition to anyone’s wardrobe. Many of the patterns in the stockinette section include various design details in other stitch patterns. The Buttoned Cardi features seed-stitch detailing, but the majority of the body is stockinette. As the name implies the Garter Yoke Cardi has an elegant garter stitch yoke, button band and edges to prevent rolling. The Drape Front Sweater is perfect for layering. It has an easy construction and perfect for knitting on the go.
 There are several patterns that blend complementing yarns together to form a beautiful end result. The Ruffled Cardi calls for both a mohair/silk blend and a ruffled ribbon yarn to add drama to the cardigan. Another pattern, Cowl Neck Pullover blends a metallic mohair body in fine weight yarn and light worsted cuffs in an angora blend.
The one pattern in the stockinette section that isn’t a sweater is actually a set of rubbed wrist warmers!
Lights & Easy
This section includes more patterns that feature more embellishments and charts. The Cropped Tank Top has a simple chart that creates a simple text and the Pleated Top includes beaded embellishments to elegance. I’m not sure why the Gathered Cardi is in the Light & Easy category, but the sleeves fall just above the elbow, so perhaps that’s why?
Dramatic Shapes
These are mostly oversized shapeless garments with few exceptions. Patterns such as the Collared Cardi are knit holding several strands together or call for a bulky yarn. While the garments are blocky, they could be customized easily and most are timeless.
Cables
I love the various cables that are featured in the cable garnet section. They range from simple to elegant, to visually complex and innovative. The Cabled Dolman features horizontal cables on a reverse stockinet stitch background. The only thing to be cautious about is that all the cables are charted. If you don’t know how to read a cable chart, be sure to learn before tackling one of these patterns!
Stripes & Colorwork
Colorwork can be intimidating for a beginner knitter. Vogue does it’s best to make it easy. There are a couple patterns that require chart reading skills (Reindeer Capelet and Heart Yoke Pullover), but the charts are printed large and are easy to read. The patterns in the Stripes & Colorwork section are beginner friendly and require few advanced techniques. Patterns follow an easy format and like the rest of the book, make yarn substitutions easy!
Overall Impressions
Each pattern has a short description in the beginning, beautiful photography and a comprehensive guide for sizing, finished measurements, materials, gauge and notes. The patterns themselves are written in an easy to understand method and clear. Vogue makes it easy to choose a yarn substitute by giving the yarn weight and fiber content for their suggested yarns. The vogue editing team did a great job of reducing ambiguity in their pattern writing. Diagrams are given with appropriate measurements and I appreciate the depth of information given for the suggested yarn.
Vogue Knitting Easy Sweaters is a must buy for knitters of all skill levels looking for amazing, timeless sweater designs to knit and wear!
Looking to see more information about each pattern featured in the book? Check out the books Ravelry page which incorporates links to each pattern.
by Heather Mastrangeli | Apr 6, 2016 | Knitting, Patterns

Browsing through the yarn aisle at Jo-Ann Fabrics, I came across Red Heart’s Scrubby yarn. What an awesome idea! The skein was on the smaller side, but the yardage looked good. I thought I could make some great little kitchen scrubby gifts and bought a couple colors to experiment with. I crocheted a cute little red square scrubby and was a little skeptical how well it would work. So that night after dinner, I gave it a try. My little scrubby just wasn’t doing the job. It felt flimsy in my hands and I had to fold it up to get it to take the grime off the pots. The scrubby got pushed to the side and the kitchen sponge came back out. I knew there had to be a better option.

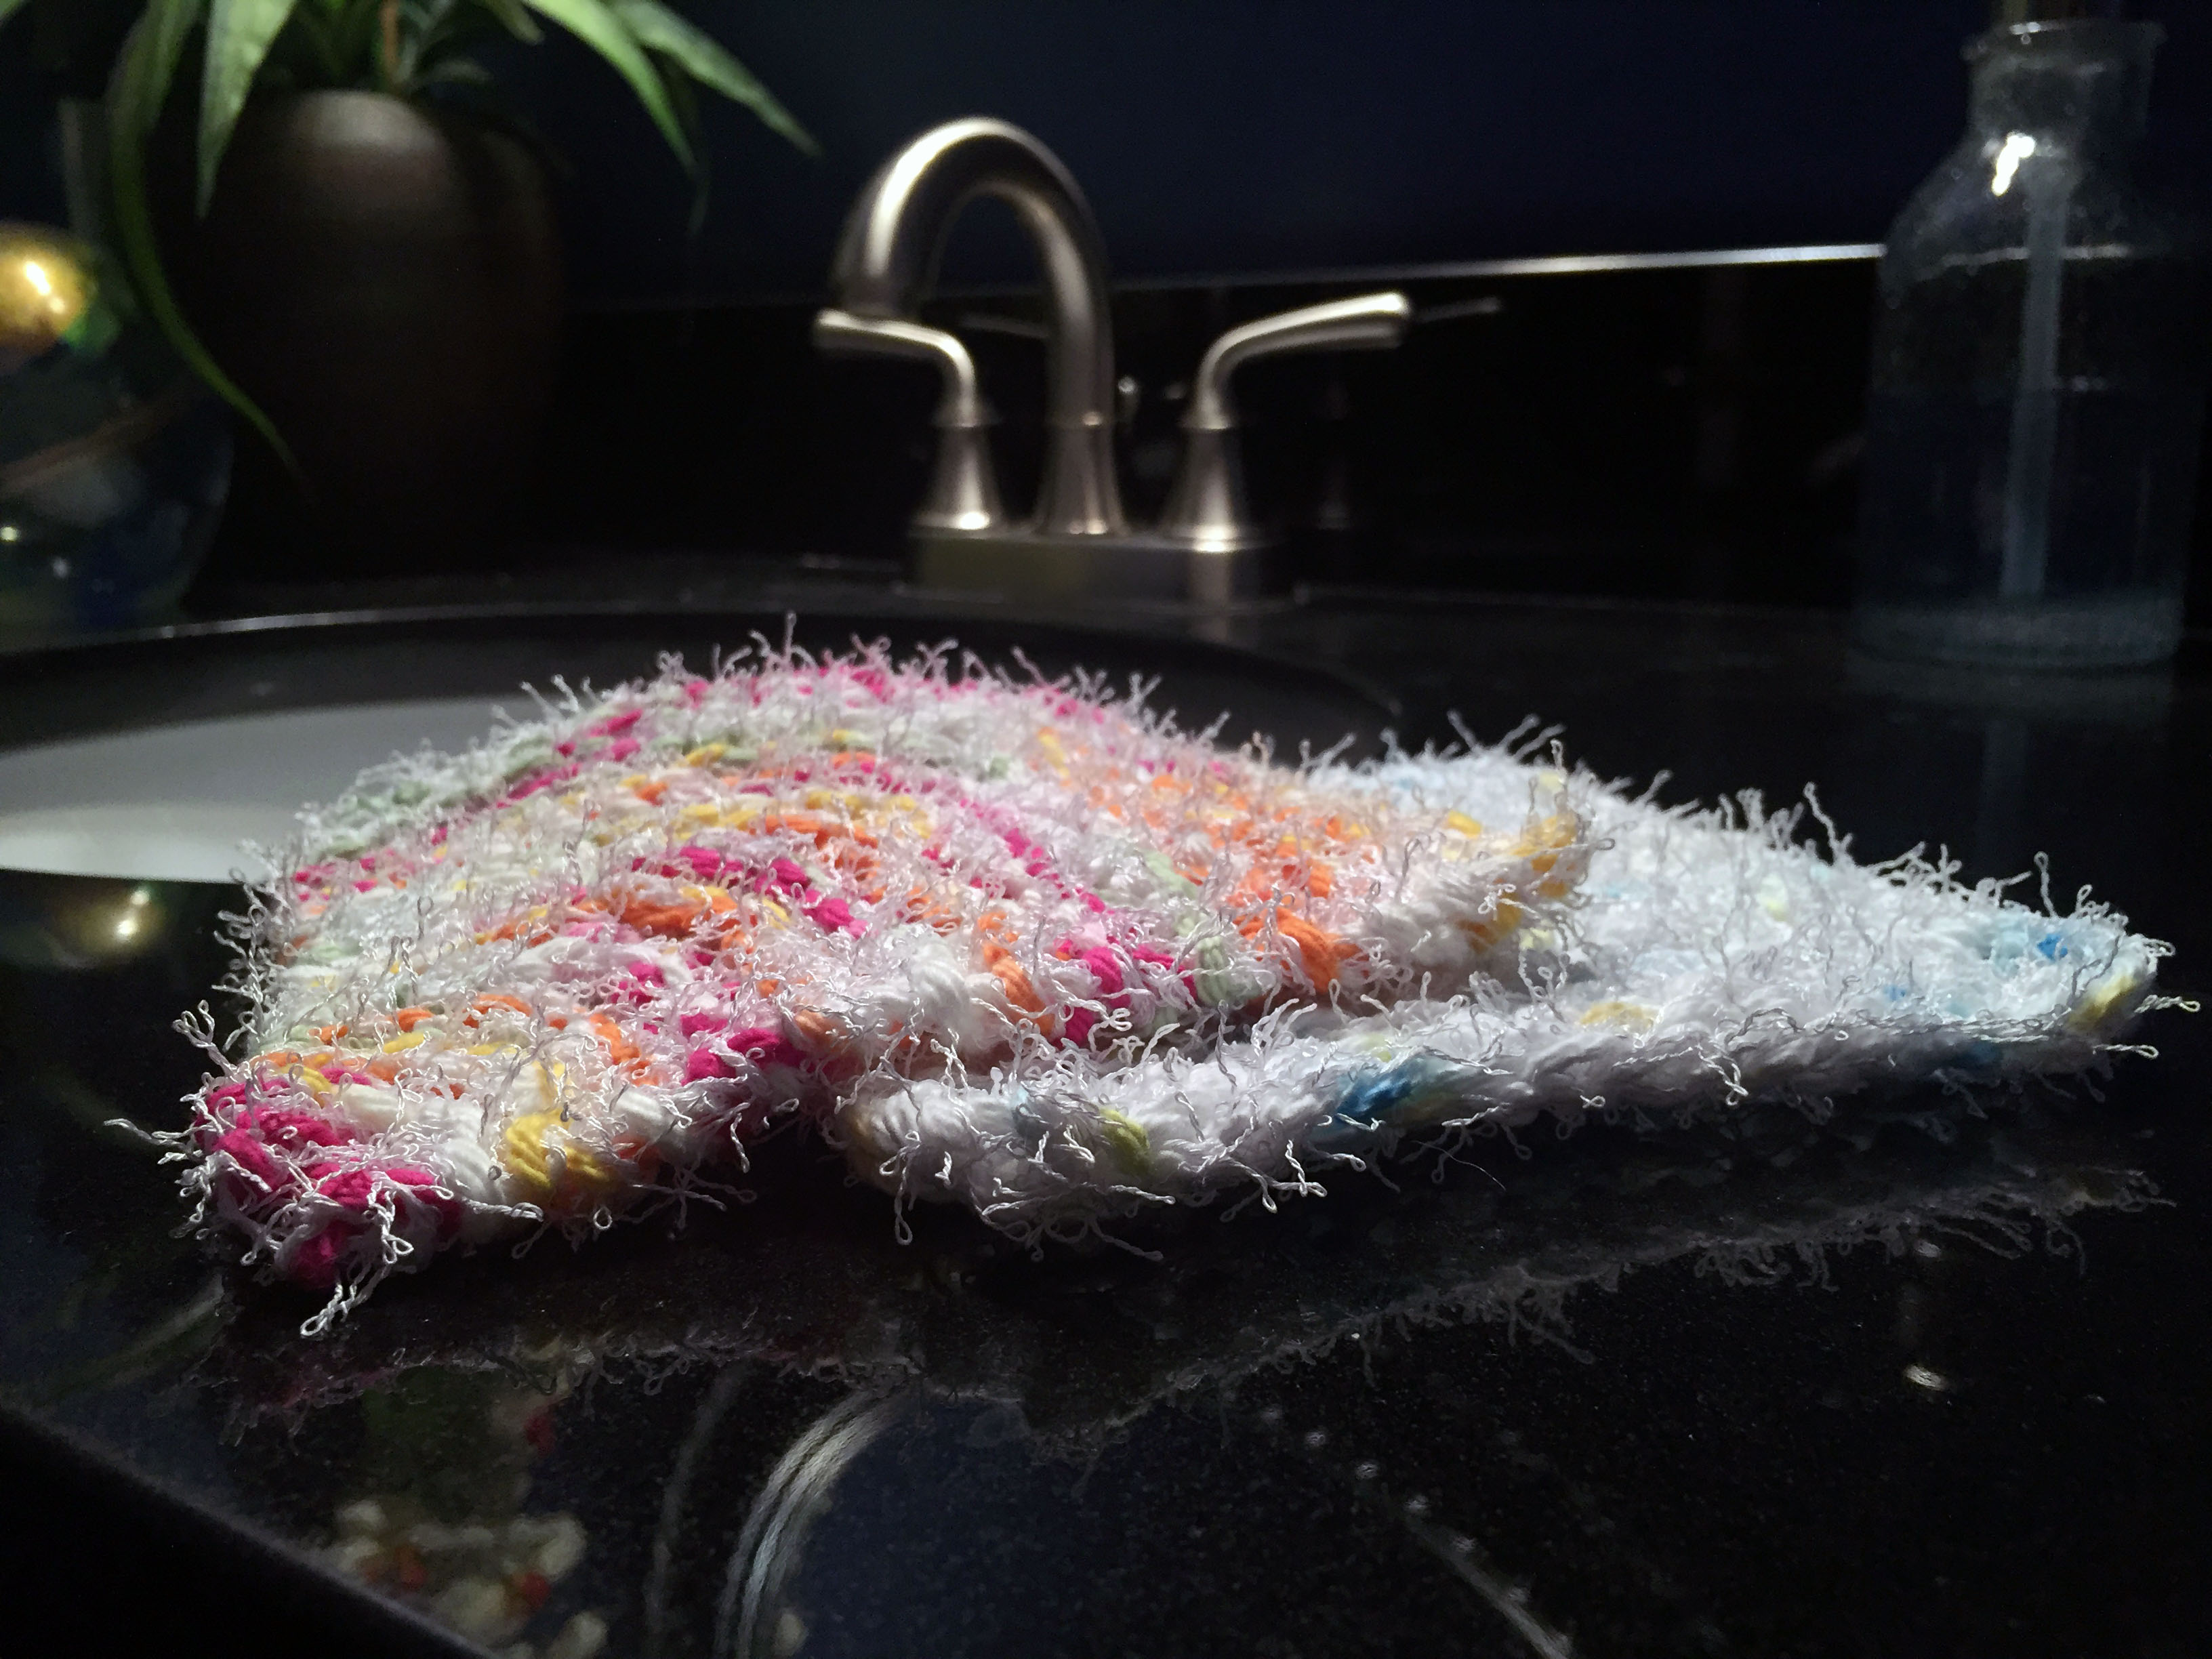
The Coconut Scrubby Yarn and the Sugar ‘n Cream yarns complement each other well!
After some brainstorming, I bought a couple skeins of Lily Sugar ’n Cream yarn. Knowing that the crochet method didn’t give the right weave for the scrubby to be functional, I started to knit the Sugar ’n Cream and the Red Heart Scrubby held together to create a mitered square. Success! My fuzzy scrubby dish cloths are perfect for the kitchen!
The scrubby yarn is perfect for getting the grime off kitchen pots and dishes. The cotton yarn adds stability, giving the scrubby yarn a better feel in your hand. These two yarns complement each other nicely and are fun to work together.

The mitered square pattern creates an interesting pattern both visually and to knit.
I love the mitered square because it’s an easy pattern to memorize and the rows take less time as the project continues because you are decreasing two stitches every other row! There is a high satisfaction level when knitting these cute dish cloths, they make great gifts and are an easy project to travel with.
Materials
US 8 or 5mm straight knitting needles (These are my favorite!)
Stitch marker
1 skein of Lily Sugar ’n Cream Cotton yarn (Over the Rainbow Ombre and Summer Prints shown)
1 skein of Red Heart Scrubby yarn (Coconut shown)
Yarn needle to weave in ends
Pattern
This is what your knitting needle will look like once the Setup step is complete and before starting Row 1.
Setup: Holding both yarns held together, CO 30 stitches (I used a long tail cast on, but use your favorite method!)
Place a stitch marker 15 stitches in
Row 1: Knit 13 stitches, k2togtbl, slip marker, k2tog, k 13 (28 Stitches)
Row 2: Knit across
Row 3: Knit 12 stitches, k2togtbl, slip marker, k2tog, k 12 (26 Stitches)
Row 4: Knit across
Row 5: Knit 11 stitches, k2togtbl, slip marker, k2tog, k 11 (24 Stitches)
Row 6: Knit across
Row 7: Row 4: Knit 10 stitches, k2togtbl, slip marker, k2tog, k 10 (22 Stitches)
Row 8: Knit across
Row 9: Knit 9 stitches, k2togtbl, slip marker, k2tog, k 9 (20 Stitches)
Row 10: Knit across
Row 11: Row 6: Knit 8 stitches, k2togtbl, slip marker, k2tog, k 8 (18 Stitches)
Row 12: Knit across
Row 13: Row 7: Knit 7 stitches,k2togtbl, slip marker, k2tog, k 7 (16 Stitches)
Row 14: Knit across
Row 15: Row 8: Knit 6 stitches, k2togtbl, slip marker, k2tog, k 6 (14 Stitches)
Row 16: Knit across
Row 17: Knit 5 stitches, k2togtbl, slip marker, k2tog, k 5 (12 Stitches)
Row 18: Knit across
Row 19: Knit 4 stitches, k2togtbl, slip marker, k2tog, k 4 (10 Stitches)
Row 20: Knit across
Row 21: Knit 3 stitches, k2togtbl, slip marker, k2tog, k 3 (8 Stitches)
Row 22: Knit across
Row 23: Knit 2 stitches, k2togtbl, slip marker, k2tog, k 2 (6 Stitches)
Row 24: Knit across
Row 25: Knit 1 stitch, k2togtbl, slip marker, k2tog, k 1 (4 Stitches)
Row 26: Knit across
Row 27: k2togtbl, slip marker, k2tog (2 Stitches)
Cut a long tail and using your tapestry needle, pul through both loops on the needle and tie off. Weave in ends and block.
Note
There is no need to count rows! If the cast-on tail is on the right side of the work, knit across all stitches. If the cast-on tail is on the left side, then work the decreases using the stitch marker as a guide until there are 2 stitches left.
Abbreviations
CO – Cast On
k2togtbl – Knit Two Together through the back loop
k2tog – Knit Two Together
by Heather Mastrangeli | Mar 31, 2016 | Knitting, Patterns

 There is a treasure chest hidden within the walls of my local yarn store. Ok, it’s actually a wire basket filled with mark downs and discontinued yarns, but it serves me well and I always feel like I strike gold when I find a treasured hank of something special inside. The quantities are minimal, but somehow at 40% off I manage to convince myself that it’s great stash material and I make a purchase.
About six months ago I was digging through the treasure chest and found a beautiful hank of Cascade Magnum Paints. It was a captivating blend of multiple earth tone colors and thick single ply wool that seemed to have a halo of light radiating from it. Maybe a slight exaggeration, but I couldn’t put it down!
Not yet knowing what I was going to do with this giant hank, a purchase was made! That hank sat in my stash four months. There wasn’t enough yardage to do anything special with, and this was surely a special yarn. So it continued to take up real estate on one of my many yarn shelves. The yarn stash continued to grow and projects flew off the needles, and Magnum Paints sat idle.
Several months and multiple trips later, I was digging through the treasure chest again and I couldn’t believe my eyes! There was a luxurious hank of Cascade Magnum Paints in what appeared to be the same color way I had at home! I snatched that hank right up and immediately started to design the perfect cowl in my head. Wanting to develop a pattern that leveraged the beautiful color, but was fun to knit with interesting stitch patterns, yet simple, the wheels were spinning. Yes, let’s make it bulky, wrap it around the neck twice…
I got home and cast on. 127 stitches to be exact. Working in the round, I started with a couple of rows of garter stitch to prevent rolling and went from there. The result? A gorgeous, warm cowl with simple and interesting stitch patterning that leverages the yarn coloring for interest.
Want to make your own?
Materials
2 hanks of Cascade Yarns Magnum Paints (Super Bulky Weight)
US size 15, 32” circular knitting needles
Stitch Marker
Gauge: 8 stitches x 12 rows in stockinet = 4×4
Finished size is 35″ x 7″
Pattern
Cast On 127 stitches using the long tail cast on method.
Join yarn for working in the round and place stick marker. Move stitch marker up at the beginning of each round.
Row 1: Knit
Row 2: Purl
Row 3: Knit
Row 4: Knit
Row 5: Knit
Row 6: Knit 1, Purl 1 to the end.
Row 7: Purl 1, Knit 1 to the end.
Row 8: Knit 1, Purl 1 to the end.
Row 9: Knit
Row 10: Knit
Row 11: Knit
Row 12: Knit
Row 13: Purl
Row 14: Knit
Row 15: Knit
Row 16: Knit
Row 17: Knit
Row 18: Purl 1, Knit 1 to the end.
Row 19: Knit 1, Purl 1 to the end.
Row 20: Purl 1, Knit 1 to the end.
Bind Off
Weave in ends and block!
by Heather Mastrangeli | Mar 22, 2016 | Crochet, Patterns

One thing I loved as a kid were holiday crafts. Easter brought paper bunnies and decorated Easter eggs. As a child, my sisters, brothers and I would spend hours investing in coloring Easter eggs, arguing over who got to use which color when, trying to figure out who was hoarding the clear wax crayon and I especially remember my sister Stacy mixing the dark dye into the lighter colored dyes and causing a muddy color for the rest of us to work with. (Ugh!) Grandma always gave each of us a Fanny Mae milk chocolate bunny and the Easter bunny came with gifts of his own for all 5 of us. Those were the days.
Seeing I haven’t done an Easter craft project in well over a decade, I decided this was the year! My most favorite medium these days is yarn, and I have an increasingly growing stash that desperately needs to be busted through. Seeing Easter is right around the corner, I wanted something quick, not gauge specific and a project that required little yarn to make the most of the bits an pieces that I haven’t been able to part with.
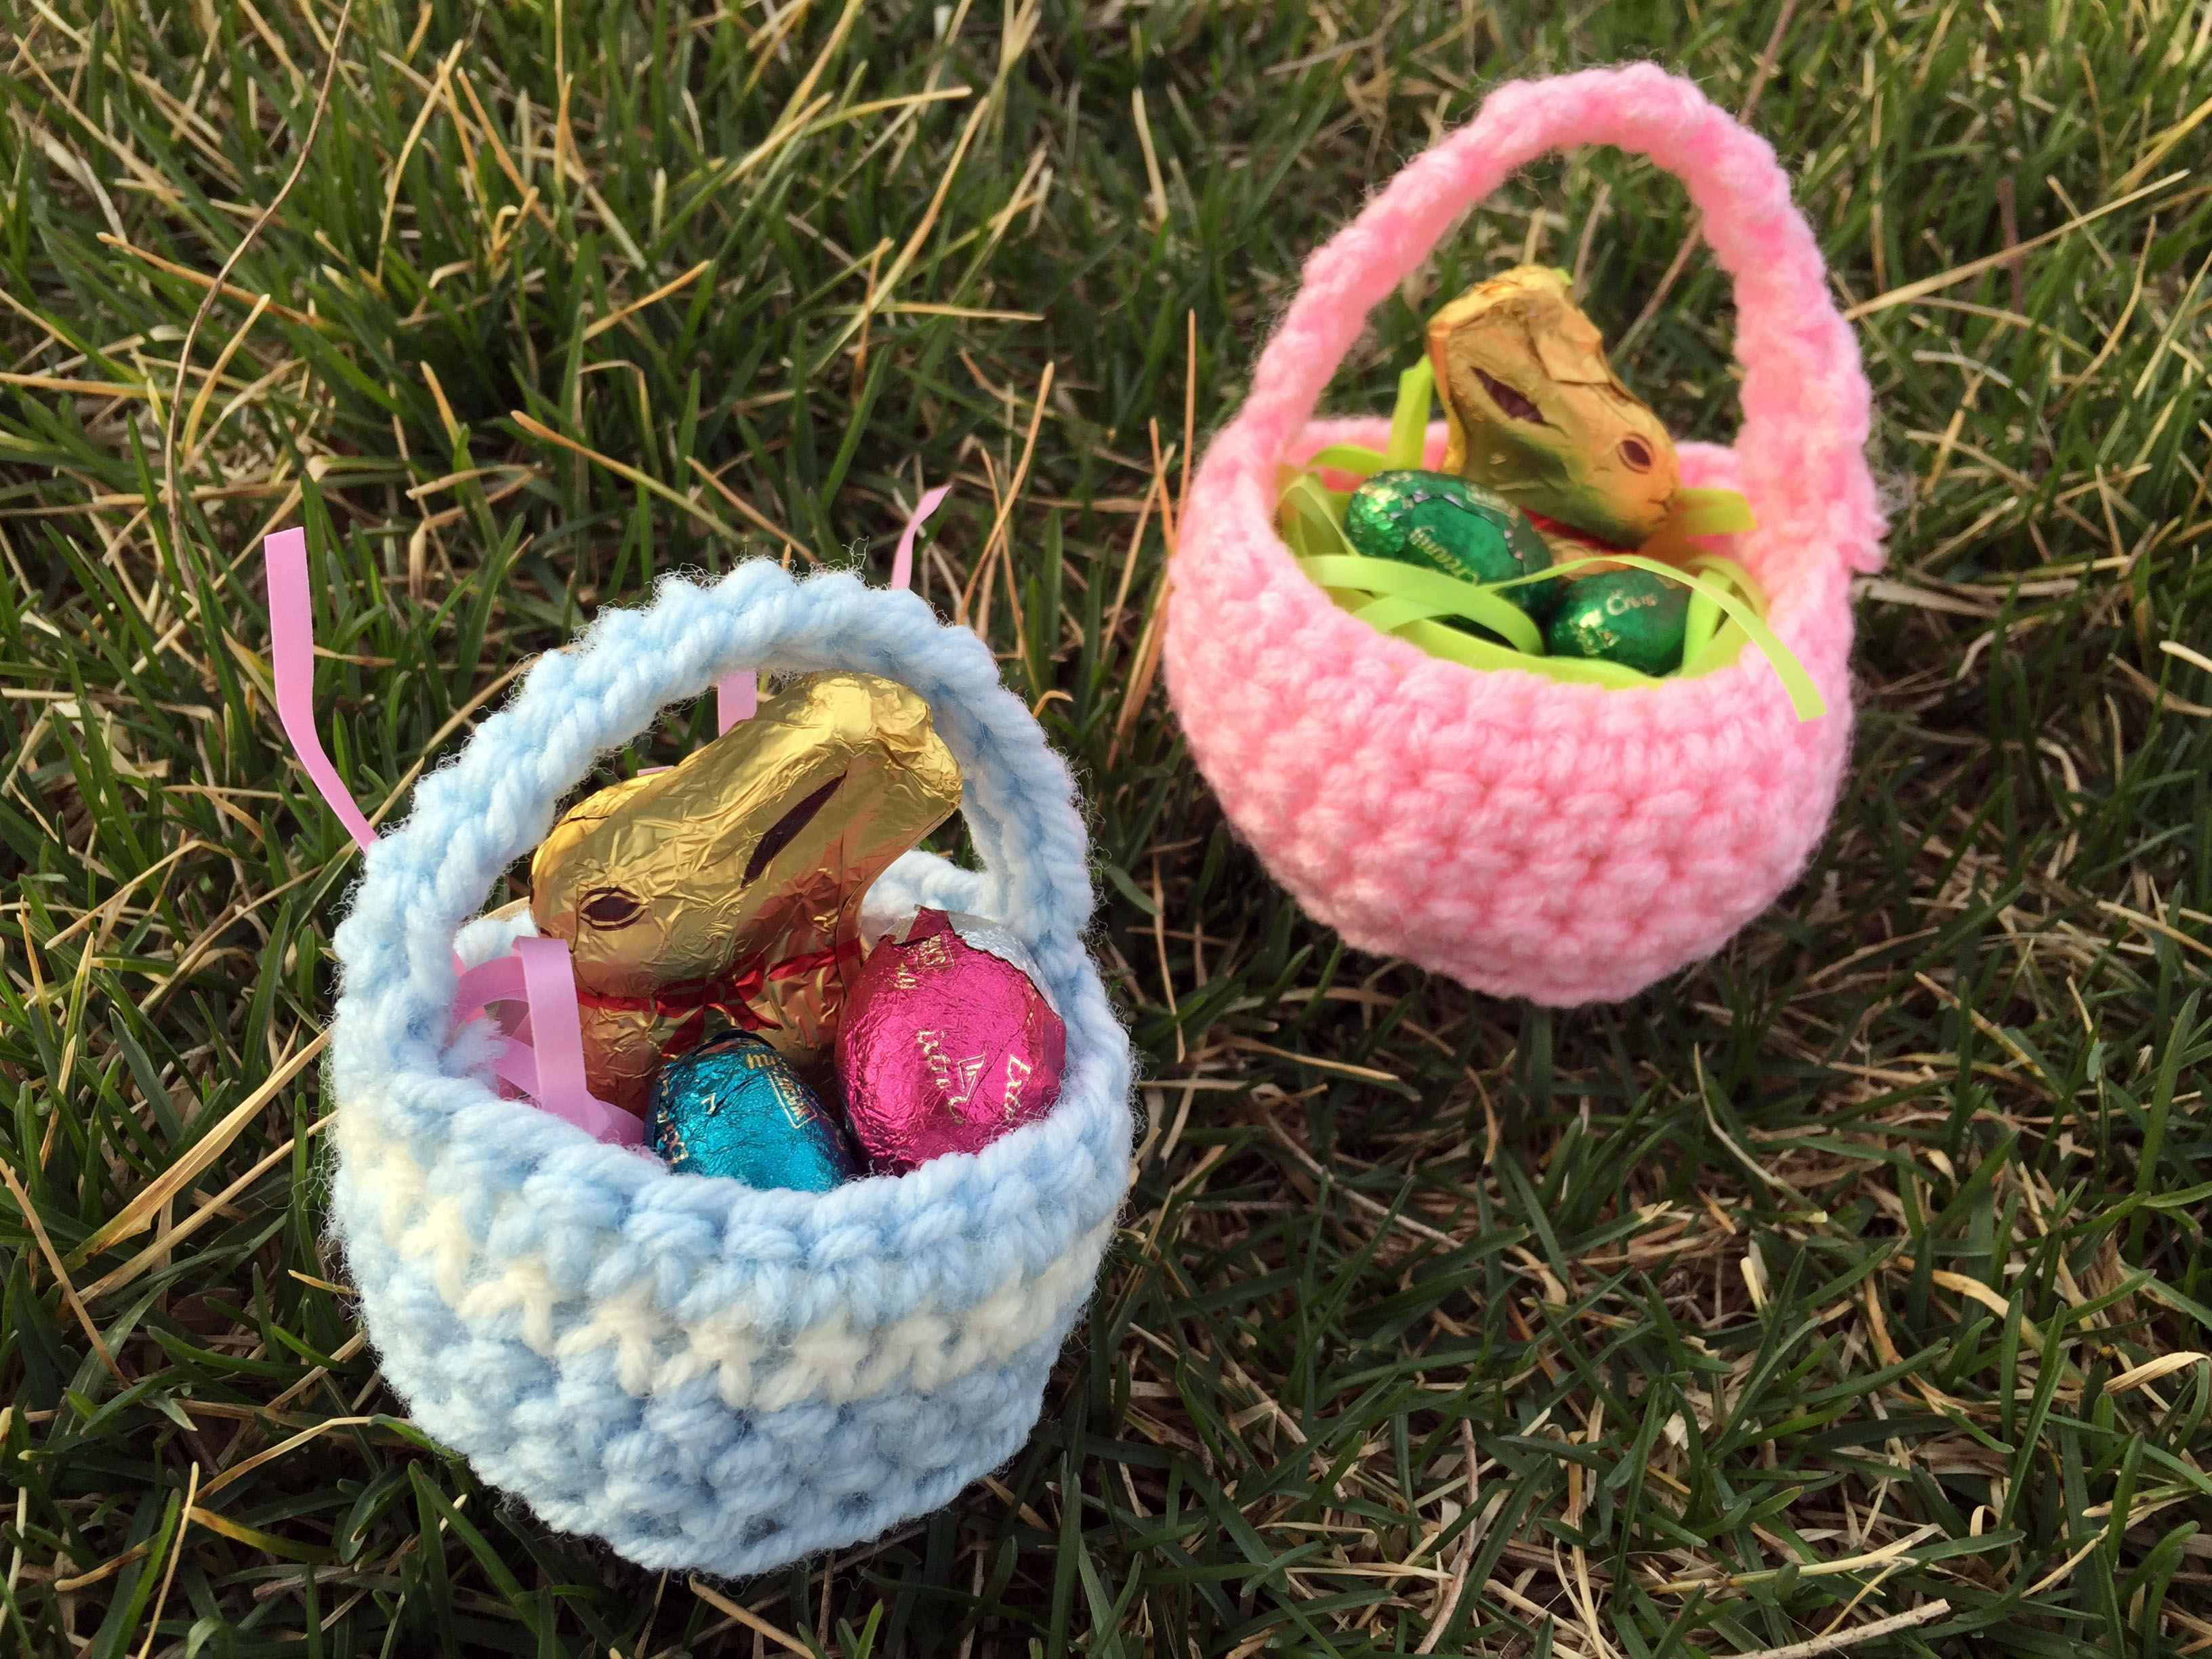
 These super easy mini Easter baskets work up in less than an hour and are big enough to hold a few candies or egg for someone in your life who needs a little Easter cheer.
Materials
- Size G crochet hook
- Worsted Weight yarn
- Yarn needle
Pattern
Bottom of basket:
Set-up: Using the magic loop method, single crochet 6 stitches into the loop and pull tight.
Join in the round with a slip stitch, chain 1
Row 1: 2 single crochet in each chain around, sl st to join, chain 1 (12 stitches)
Row 2: *(sc, sc, 2 sc in next stitch) *repeat to the end, join with slip stitch, ch 1 (18 stitches)
Row 3: 2 sc in first stitch, sc, sc, *(2 sc, sc, sc) *repeat around, join with slip stitch, chain 1 (bottom of basket should measure 2″ in diameter)
Sides of basket:
Row 4: Working in the back loops of the bottom of the basket, increase 1 in the first stitch by single crocheting twice in the first loop, single crochet in back post around, join with sl st, chain 1 (25 stitches around)
Rows 5- 7: Working in both loops, single crochet around, join with sl st, chain 1
Handle:
Row 8: sc 2, ch 1 turn
Row 9: sc 2, ch 1, turn
Row 10: sc 2, ch 1, turn
Row 11: single crochet 2 together, chain 1, turn
Rows 12- 18: sc 1, ch 1, turn
Row 19: 2 single crochet in stitch, chain 1, turn
Row 20: sc 2, ch 1 turn
Row 21: sc 2, ch 1 turn
Row 22: sc 2, ch 1 turn
Join the end of handle half way around basket and slip stitch in place. Tie off an weave in ends.
Abbreviations
sc – Single Crochet
sl st – Slip Stitch
ch- chain